Laura’s guide to the perfect Christmas cookie

The final result of Laura’s cookie recipe!
December 9, 2020
As the holiday season fast approaches, so do new responsibilities. Suddenly, one is faced with the tasks of gift-giving, festive decorating, and shoveling snow until his/her arms fall off. One of the most difficult holiday missions to master, however, is baking. Creating the perfect holiday treat is anything but easy, and baking something for the whole family to enjoy is quite a challenge.
I, too, hated baking once, but I have realized (thanks to a lengthy lockdown) that baking takes time and persistence. Finding the perfect recipe can be difficult, and can be even harder to replicate, which is why I am here to make the process a little easier. Gone are the days of buying cheap plastic rolls of dough; here is my go-to cookie recipe that will be a guaranteed hit at any (socially distant) holiday party.
Before you begin, you will need three cups of flour, a teaspoon of baking powder, a pinch of salt, one cup of unsalted butter, one cup of sugar, one egg, and a tablespoon of milk. If you don’t have unsalted butter, skip the pinch of salt. I would also recommend having a bit of powdered sugar on hand for the rolling process, but flour works just fine.
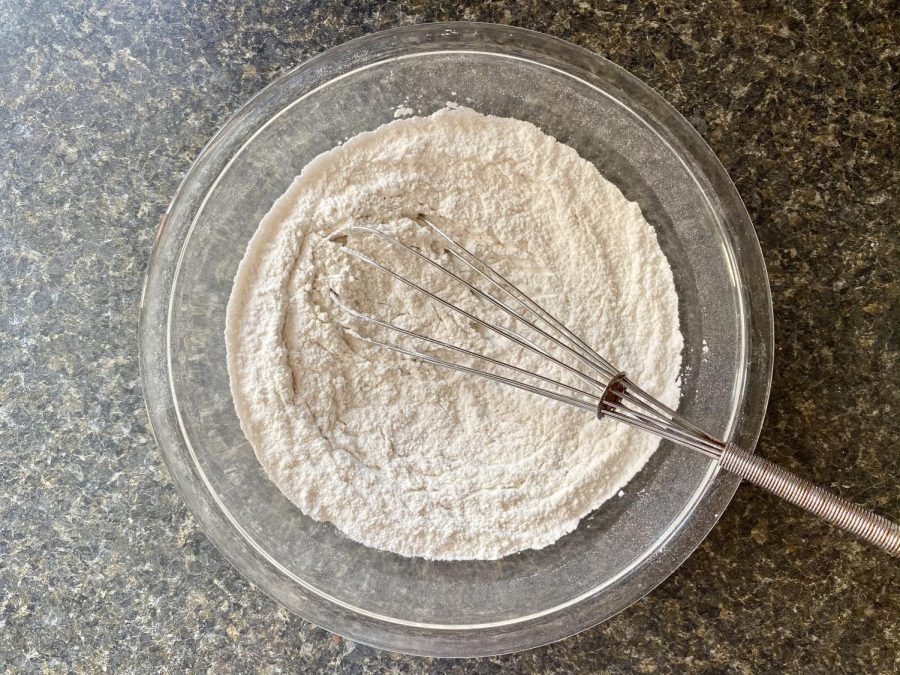
Once you have all of the ingredients, whisk together the flour, baking powder, and salt in a large bowl. Some people like to sift their flour, but I think that takes way too much time; go with whatever method you prefer. When finished, set the bowl aside.
Next, melt the butter. I do it in the microwave because I’m lazy, but the stovetop works well too. If you are like me and decide to use the microwave, be sure to heat up the butter in 20-second intervals. If the butter melts and gets too hot, it will splash everywhere. It will literally explode. I learned the hard way. Let the butter cool down for a few seconds before putting it back in; your microwave and your mom will thank you.
Once that’s done, combine the butter and the sugar and use an electric mixer to blend. I prefer to use a KitchenAid stand mixer, but a handheld electric mixer works just as well. Once combined, add the egg and milk.
Now for the fun part: put the mixer on a low speed and gradually add the dry ingredients. I recommend doing this step in ⅓ cup increments in order for the mixer to blend everything together smoothly. Once all of the ingredients are fully combined, the mixture should pull away from the bowl and become a dough. Try to resist eating too much of the cookie dough. You won’t get salmonella or anything, but you will get a terrible stomachache. Again, I learned the hard way.
Next, wash your hands before dividing the dough into two pieces and wrapping with wax paper. Refrigerate for at least two hours before rolling; this way, the dough is less sticky and the cookies retain their shape in the oven. While you’re waiting, I recommend watching a Christmas movie or attempting to do homework.
When the waiting is finally over, preheat the oven to 375 degrees. Unwrap one of the pieces of dough and let it unthaw for a few minutes before beginning to knead it with your hands. Once you feel it is soft enough to roll, drizzle powdered sugar or flour over your countertop as well as on top of your dough and rolling pin to prevent the dough from sticking to any surfaces. Then, roll out the dough until it is about ¼ inch thick and use your favorite cookie cutters to form your cookies. Carefully remove the shape from the counter and place it onto a greased cookie sheet, parchment paper, or a silicone baking mat (my favorite is the silicone mat). Repeat the process until the sheet is full, making sure that each cookie is at least a half-inch apart. Then, bake for eight minutes, flipping the sheet around halfway through so that the cookies are baked evenly.
Once the time is up, take the sheet out of the oven and leave the cookies to cool for at least five minutes before transferring to a wire tray or a plate. Be sure that the cookies are laying flat until they cool completely, or else they could bend or lose their shape.
Once the cookies have cooled down, it’s time to decorate! I’m not gonna lie to you; I don’t make my cookie icing from scratch. My tiny hands and I have difficulty using piping bags and any recipe that I have tried does not work nearly as well as the tubes of cookie icing available in your local Kroger baking aisle. Those are my holy grail; once hardened, the icing is smooth and not overpowering, and it’s a foolproof way to make the most impressive-looking cookie.
When it comes to details, I like to use an edible marker. When the icing hardens, I gently drag the marker across the top, being careful not to puncture the icing. You will probably have a few rough-looking cookies at first, but the process gets easier as you keep going. If something requires more than just a dash of color, I use a small tube of black icing.
I also like to add sprinkles to certain spots on my cookies sometimes. To do this, I frost a certain area, then while it’s still fresh, I apply sprinkles of the same color, dusting off the excess.
Once you are satisfied with how your cookies look, it’s time to eat! Share with friends and family and store in an airtight container for up to a week. Happy holidays and good luck!